
They say diamonds are a girl’s best friend. Give me a diamond and I’ll be charmed. Give me pretty dishes or kitchen accessories and I’ll jump for joy! That is how excited I got when my mom gave me these cute mini tart molds. I couldn’t wait to start experimenting and put them to good use 😉 That is how these cashew cream tarts happened.
But don’t worry if you don’t have mini tart molds! You can still make these babies using a regular or mini muffin pan. Make sure to line the tray with paper cups for easy transfer.
Since it has been quite hot in the apartment these past few weeks, I decided to try a raw crust using oats, walnuts and dates mainly. It tasted delicious, but as I had expected it doesn’t hold as strongly as a baked version would, so just keep that in mind. Make sure to store it in the fridge overnight or in the freezer for a few hours before serving, for best results. I will try a baked version as soon as the temperature drops down a bit and will keep you posted on the results.

Raw Cashew Cream Mini Tarts Recipe
Yields 4 mini tarts
Ingredients
Crust
- 1 cup steel-cut or rolled oats
- ½ cup raw walnuts
- 3 dates, pitted
- 2 tablespoons unrefined coconut oil
- 1 tablespoon ground flax seeds
- Pinch of cinnamon and unrefined sea salt
Filling
- 1 small banana
- ¾ cup cashews (no need to soak)
- ½ teaspoon vanilla bean powder or vanilla extract
- 2 tablespoons lemon juice
- ¼ cup coconut milk
Toppings
- ½ cup berries, figs, or other fruits of choice
Directions
- FOR THE CRUST: Add all the crust ingredients to the food processor and process until you get a sticky dough. If the texture is crumbly and does not stick together, add 1-2 tablespoon(s) of water and process some more
- Press dough down into the mini tart pans with your fingers to cover the bottom and edges, about ½ inch thick. Transfer to the freezer to let it harden
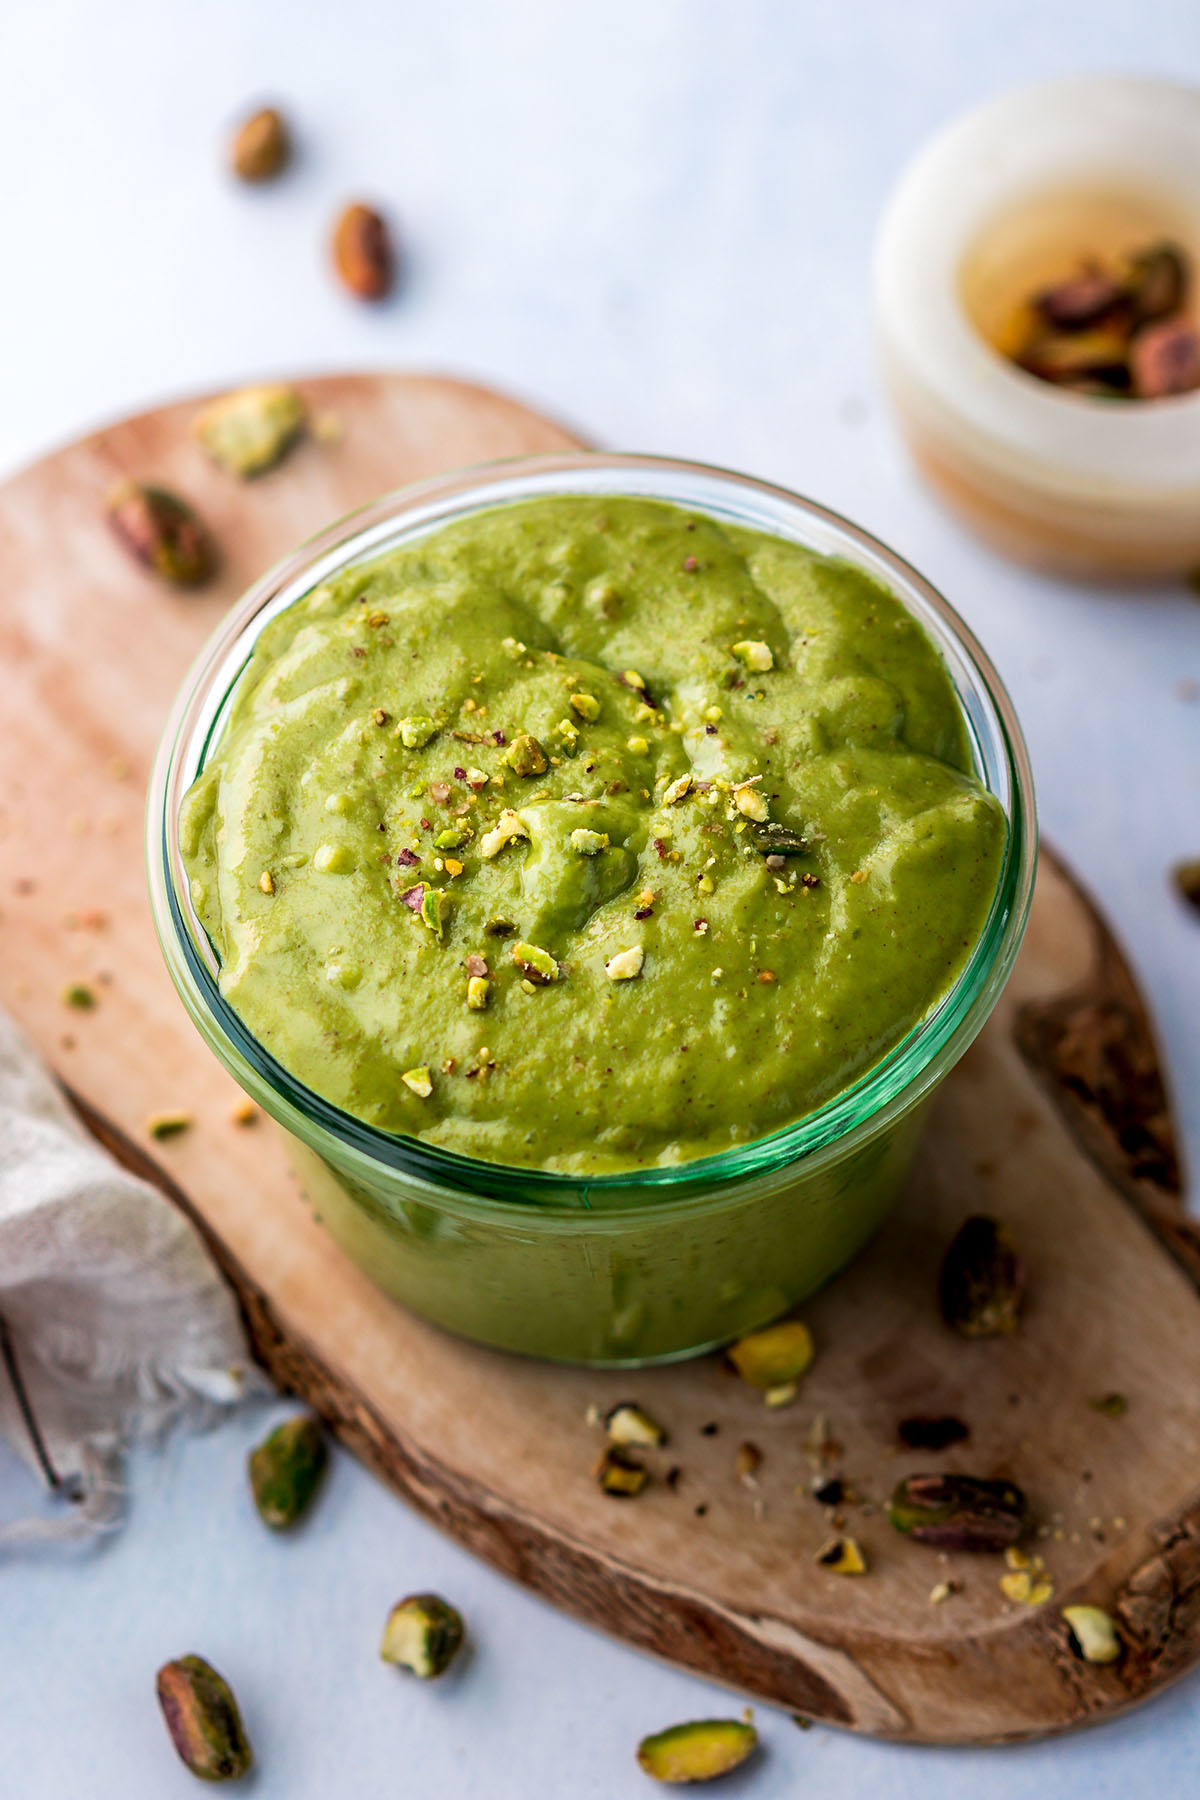
- FOR THE FILLING: Prepare the filling by adding all filling ingredients to the same food processor or use a blender if you prefer a silky smooth texture. Process or blend until smooth, stopping in between as needed to scrape down the sides
- ASSEMBLE: Take the crusts out of the freezer and pour the filling inside. For best results and to keep the crust sturdy, store in the fridge overnight or in the freezer for 2-3 hours before serving
- SERVE: Decorate with berries, figs or other fruits of choice and enjoy!


Leave A Comment