I’ve been experimenting with making my own dairy-free coconut yogurt for a while now and after all the trials and errors, I can confidently say that I’ve got it figured out. So it’s time to share this easy and delicious homemade 2-ingredient coconut yogurt recipe with you all.
At the time I’m writing this, there are just a few coconut yogurt brands available at the supermarkets here in Canada. However, they all include thickeners and additives like carrageenan, locust bean gum, guar gum, sugar, “natural” flavors, and other ingredients I try to stay away from as much as possible.
Additives in Most Coconut Yogurt Brands
- Carrageenan is derived from seaweed, but that doesn’t mean it’s healthy. In fact, research has shown that it can be particularly destructive to the digestive system, activating an immune response that dials up inflammation. So it’s best to avoid it at all costs.
- I’m more flexible with gums like guar gum and locust bean gum that are also used to stabilize, emulsify and thicken foods, since they don’t have the same destructive effects as carrageenan. However, they can be problematic for people with a sensitive digestive system such as those suffering from IBS or SIBO. So it’s best to avoid regular consumption of products that include them.
- As for natural flavors, just because a product says “natural” it doesn’t mean it’s healthy and often time natural flavors contain preservatives and solvents as well. It’s always best to contact the company to see where and how these flavors are being sourced.
Even in the US, I haven’t found a product with a clean list of ingredients that’s reasonably priced, so I decided to make my own.

The Process
The first couple of times I tried making coconut yogurt, I used full-fat coconut milk without first chilling it and separating the cream from the water. I assumed that just like making regular yogurt, it would thicken up after fermentation. Well, that didn’t happen and I ended up with a runny yogurt that looked more like milk.
So the next time, I used a recipe with raw honey and gelatin. The outcome was thick, but had a jello-like consistency because of the gelatin, which I wasn’t crazy about.
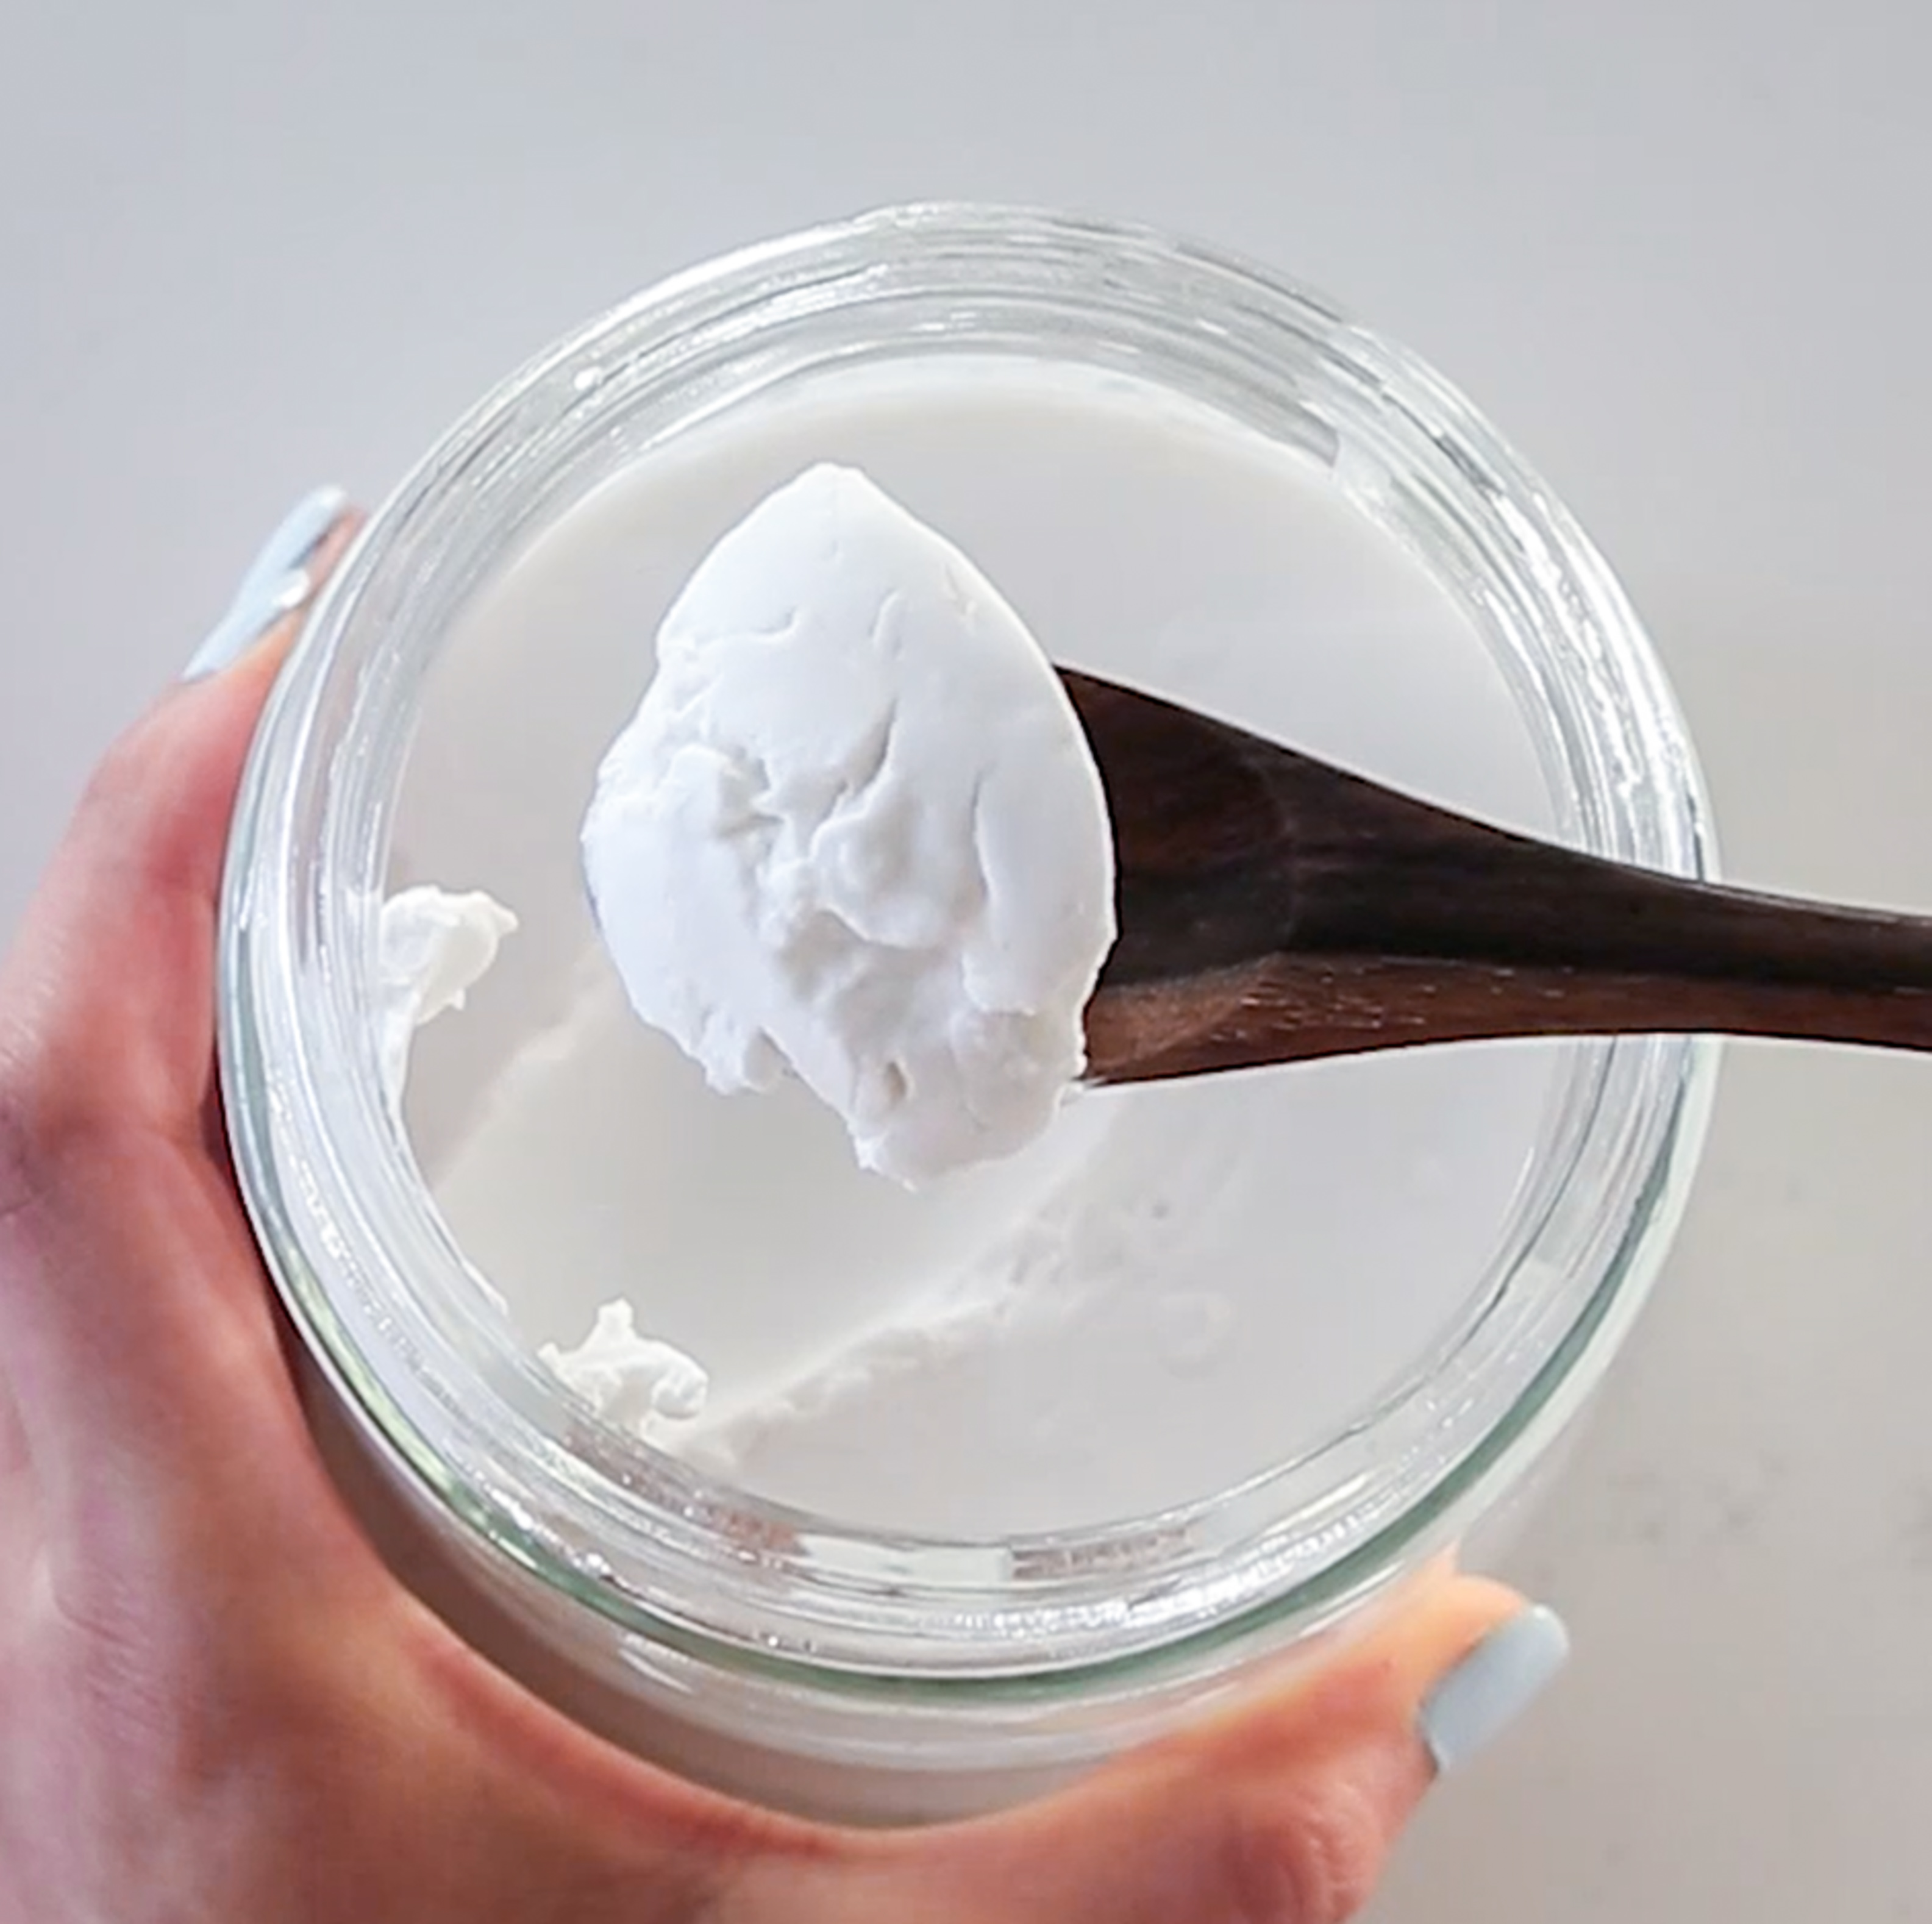
Finally, I decided to try using coconut cream and that’s when I got a perfectly thick and tangy coconut yogurt. I experimented with and without the honey and realized you don’t necessarily need to add any sweeteners for the fermentation process to kick off.
Quality is Key
Another important finding was that the quality of your probiotics is key! One time my “yogurt” tasted just like coconut cream, which meant it hadn’t fermented properly. I figured it had something to do with my expired probiotic powder, so the following time I used a new probiotic product and it worked like a charm. So to summarize, here are some of the things I’ve learned so far:
- Use coconut cream instead of coconut milk to get a thick, Greek yogurt style consistency
- No need to add other ingredients like gelatin or honey for proper fermentation
- Make sure to use high-quality probiotics with at least 60 billion CFU. Best if they include the following bacterial strains: L. acidophilus, B. bifidum, L. bulgaricus, S. themophilus, and L. casei.
The quality of your coconut milk is also crucial. So make sure to avoid cans with BPA or coconut milk “beverages” available in the cereal aisle. Here are some of my favorite products that are 100% coconut milk with no thickeners or additives:
Native Forest Organic Coconut Milk, Aroy-d Coconut Milk, Natural Value Coconut Milk, and Earth’s Choice Coconut Milk (guar gum-free).
You can enjoy this delicious and tangy coconut yogurt on its own or with fruits. I also love to use it in smoothies, chia puddings, frozen yogurt treats, and parfaits like the one in the video below.
Have you tried making your own coconut yogurt yet? If so, how did it work out for you? Leave a comment below and let me know. Also, if you try out this recipe I would love to hear from you! Tag me on your recreations @nutriholist #nutriholist on Instagram or Facebook, so I could see and share them. XO
Watch How To
Homemade Coconut Yogurt
Ingredients
- 2x 13.5-oz (400 ml) cans of full-fat coconut milk
- 4x 15 billion CFU probiotic capsules (or 2x 50 billion CFU probiotic capsules)
Directions
- Store the coconut milk cans in the fridge overnight for the cream to separate from the water
- Without shaking, open up the cans and scoop out the cream into a bowl. (Save the coconut water at the bottom to use later in smoothies)
- Open up the probiotic capsules and add the powder to the bowl. Mix with a wooden spoon until they’re completely incorporated into the coconut cream and no lumps remain. Feel free to use a blender if you can’t get a smooth consistency
- Transfer the yogurt to a clean glass jar, cover with a paper towel or cheese cloth, and use a rubber band to secure it
- Place the glass jar in a warm place–like an oven with the light on–for 24 hours to ferment. (Make sure not to turn on the oven during this time)
- Remove the yogurt jar, cover with lid, and let it chill in the fridge for at least 2 hours before enjoying. Serve it as is or in a parfait with layers of berry sauce, granola, and berries/fruits


Hi how long will this last in the fridge for
Hi, coconut yogurt stays fresh in the fridge for up to a week. Toss it out if you see mold or if it develops a funky taste or smell.
i was given a electric yogurt maker for a present.. can i us this recipe with this maker and are the ingredients the same??
Thanks Janice
Hi Janice, yes you can certainly use this recipe with the same ingredients. The only difference is that you leave it in your yogurt maker machine to ferment instead of the (turned off but lights on) oven. Enjoy!
How do you keep it going or do you start again fresh each time.
You can use yogurt from the previous batch as your starter. If, however, after a few times you noticed your batch was getting weaker and less tart, then you could add probiotic powder as your starter again.
Yes I would love to know the answer to this last question as well. Can you save some as a start for a new batch?
Hi Gina, yes, you certainly can. 🙂 If, however, after a few times you noticed your batch was getting weaker and less tart, then you could add probiotic powder as your starter again.
What probiotic capsules do you use. Lots to chose from
Yes, so many options! I’ve had best results with probiotics that have over 10 strains and 50 billion CFU. I’ve linked my favorite brand on my Cashew Yogurt post: https://nutriholist.com/homemade-cashew-yogurt/
How many capsules of probiotic do you use per can?
For every 13.5 oz (400 ml) can of coconut milk, I use 2 probiotic capsules with 15 billion CFU OR 1 capsule with 50 billion CFU
What is the brand of probiotic?
It’s best to use a high-quality probiotic that includes the following bacterial strains: L. acidophilus, B. bifidum, L. bulgaricus, S. themophilus, and L. casei. Some options are Renew Life Ultimate Flora Extra Care 50 Billion and Garden of Life Raw Probiotics. You want to use 2x 50 billion CFU probiotic capsules or 4x 15 billion CFU probiotic capsules.
I used 2 cans of coconut cream and one capsule of 30 billion probiotics, mixed well and put it in oven with light on for 12 hours. It came out more runny than when I put it in. What did I do wrong? Perhaps use 2 capsules?
Did you use the entire can or just the solid cream part? You can’t really get thick coconut yogurt without adding any thickening agents (gums, gelatin, etc.) if you start with runny milk. If that’s not the issue, then yes, try adding 2x 30 billion CFU capsules next time. Also, make sure to read the whole post if you haven’t already for all the tips and tricks. Hope it works! 🙂
P.S. If nut-allergy is not an issue, give my cashew yogurt recipe a try. It’s much easier to get it right and taste SO good!